
How can we help you?
Importing Customers from Sage
Creating customers from Admin
Step 1
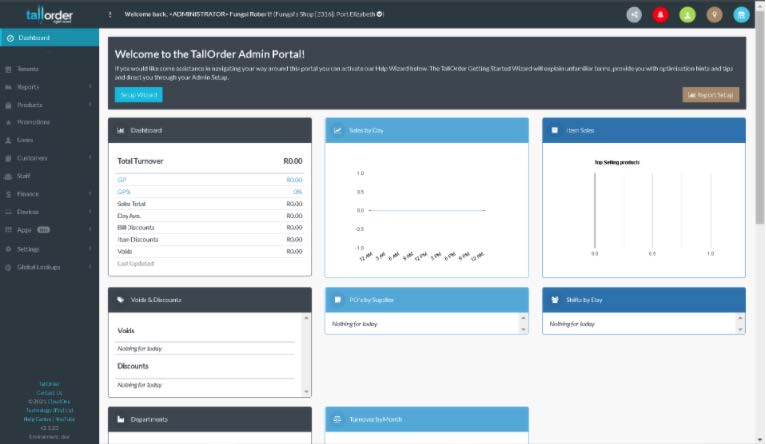
Sign into admin and choose your required merchant you would like to create a customer on.
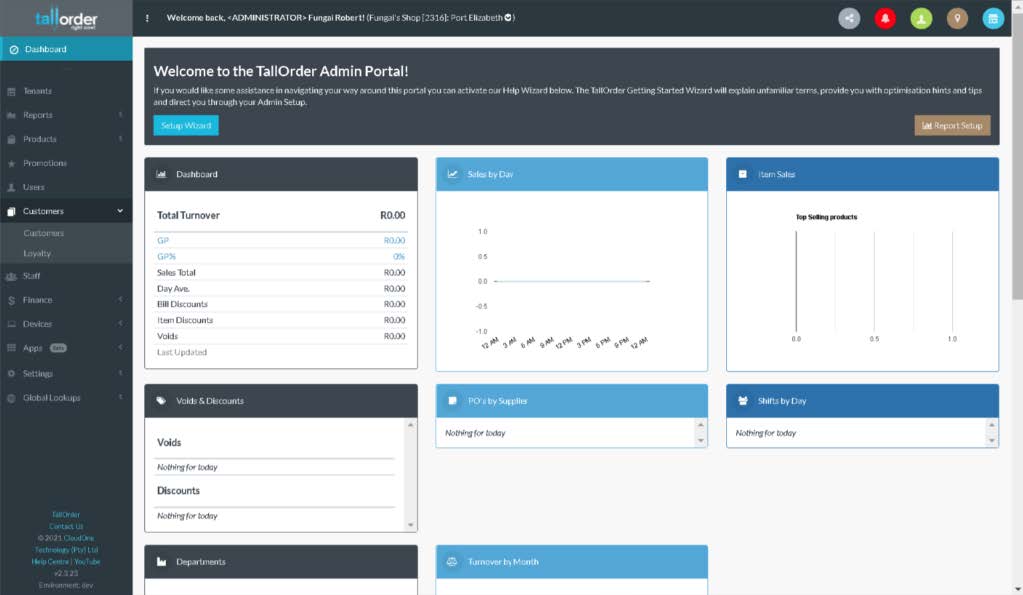
Step 2
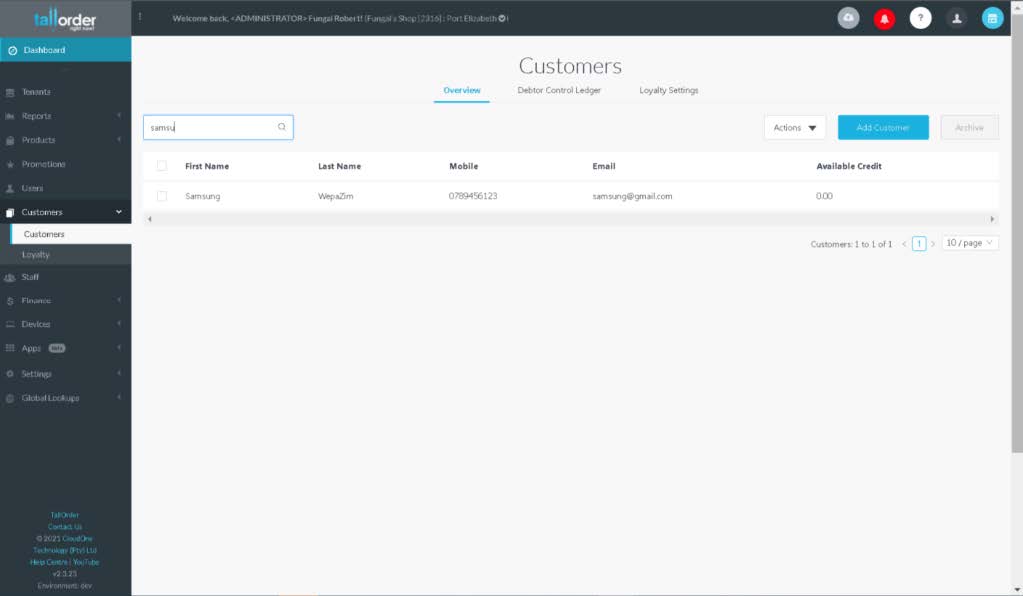
Select Customers from the list of categories on the left side of your admin page, where it will display the list of options “Customers” and “Loyalty”.
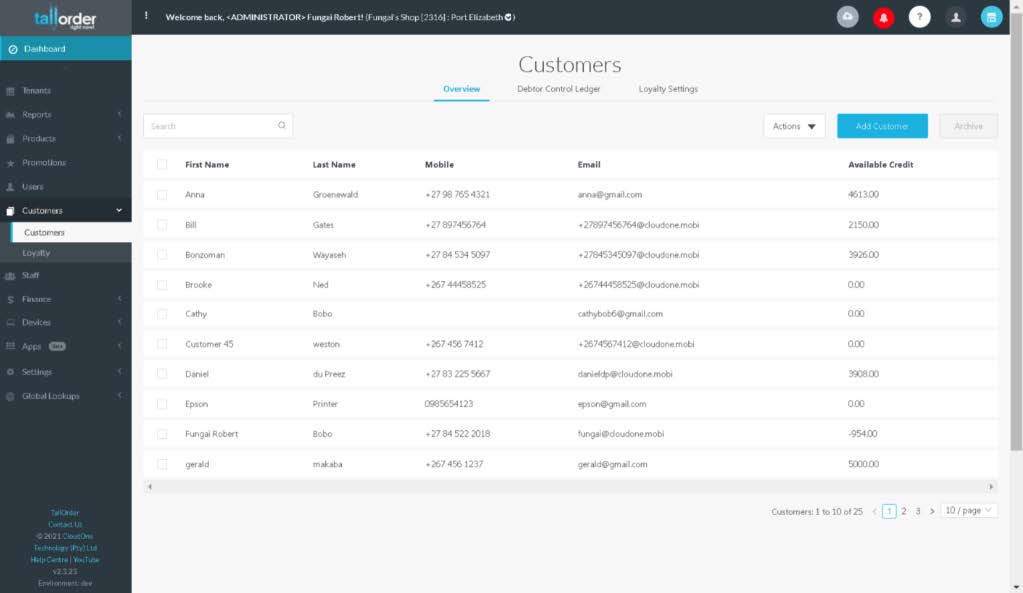
Step 3
Select the option customers and the customers page is displayed with a list of all customers present in that merchant.
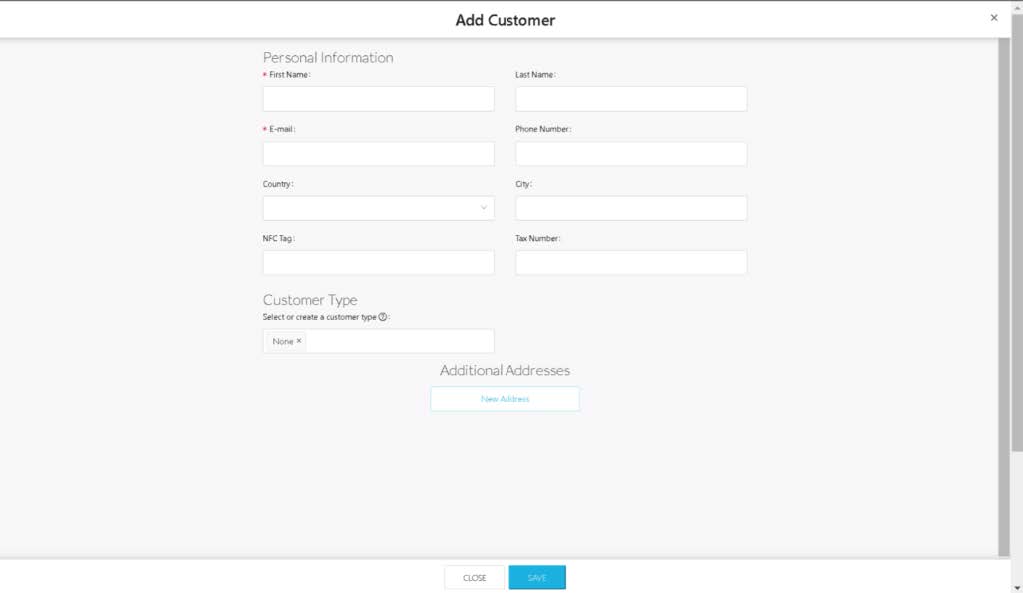
Step 4
Click the blue “Add Customer” button on the top middle right of the customers page which then displays the customer creation model and fill in the required details of the customer which include:
First Name
Last Name
E-mail
Phone
Number
Country
City
NFC Tag
Tax Number
Customer
Type
Step 5
After adding the required details click the save button to save the customer. After the customer is saved , close the modal and search the customer from the list of customers and click on customer to confirm if they have been saved with the required details.
Step 6
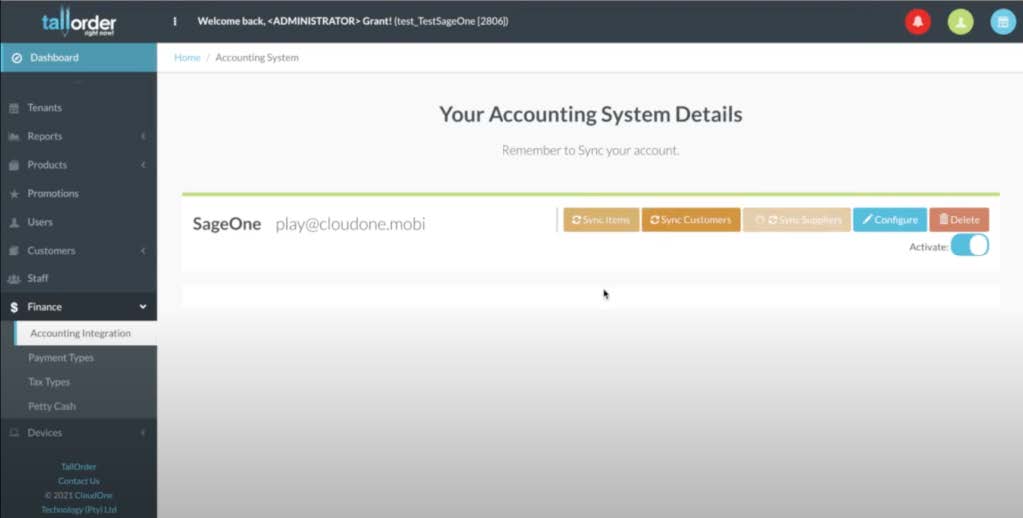
After creating a customer navigate to Finance and select the “Accounting Integration” option. On the top right of the page select “Sync Customers” which will sync your newly created customer to Sage.
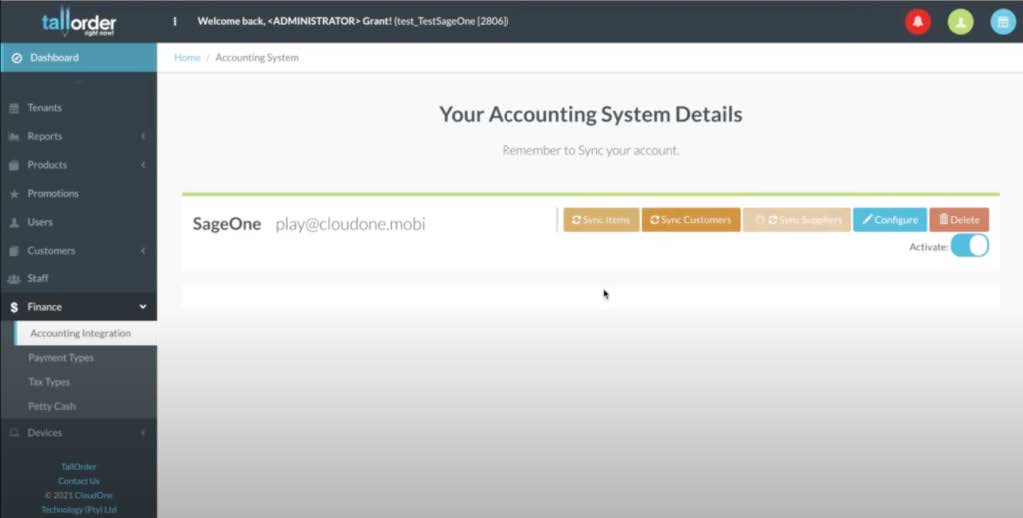
Step 7
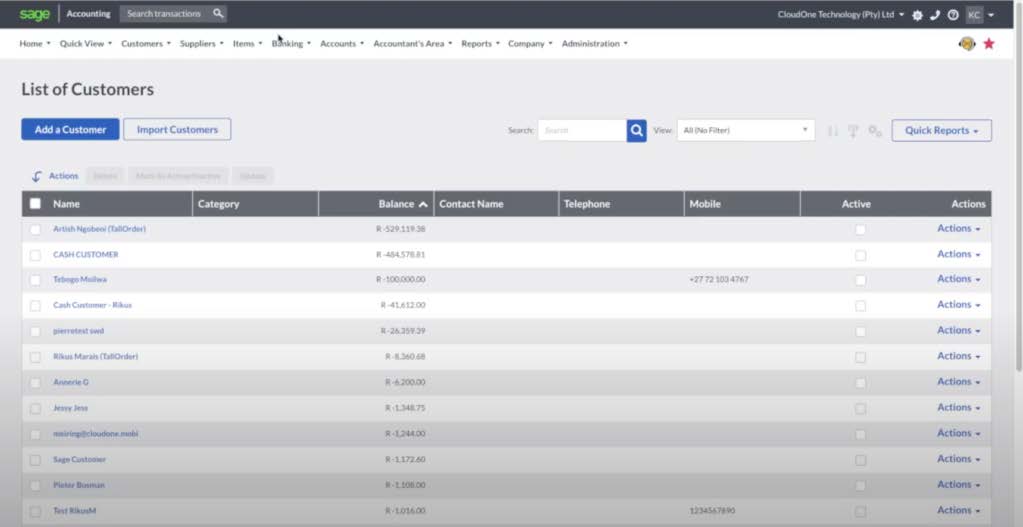
After the sync has been completed open the Sage portal and navigate to Customers > List > List of Customers where you can view your newly created customer.

Creating customer from POS
Step 1
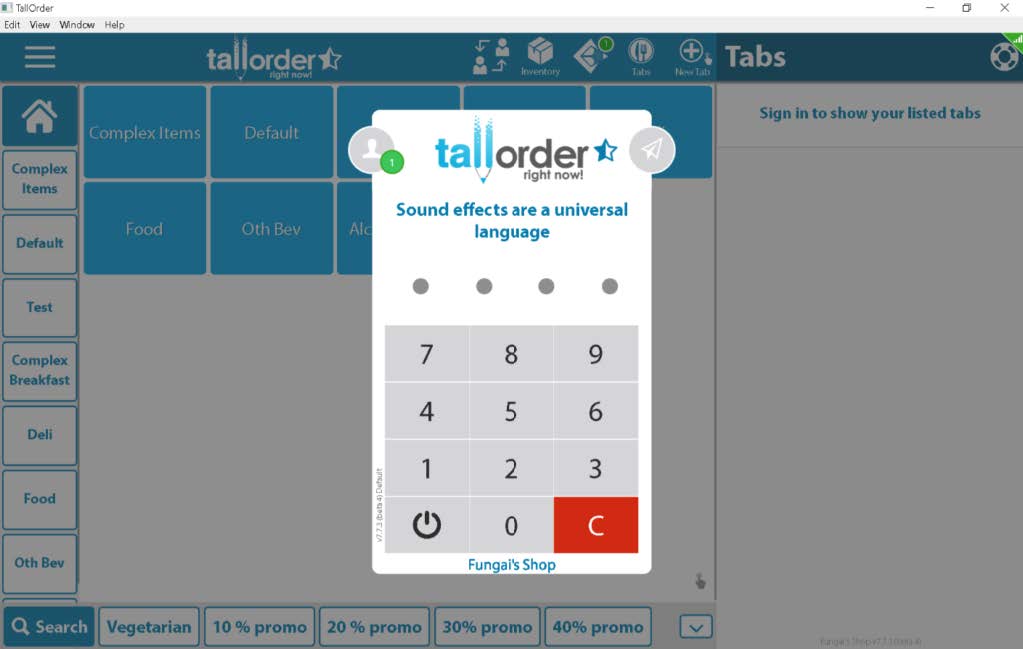
Sign into POS and choose your required merchant you would like to create a customer on.
Step 2
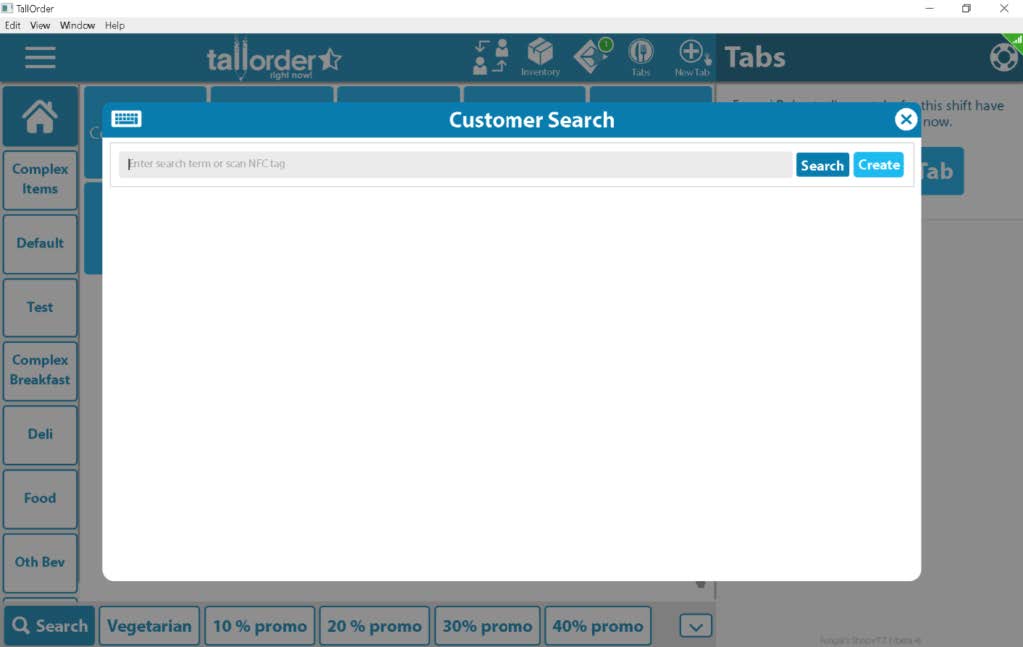
Enter a 4 digit Staff pin and select “Account Payment” from the burger menu on the top left corner which will display the customer search modal.
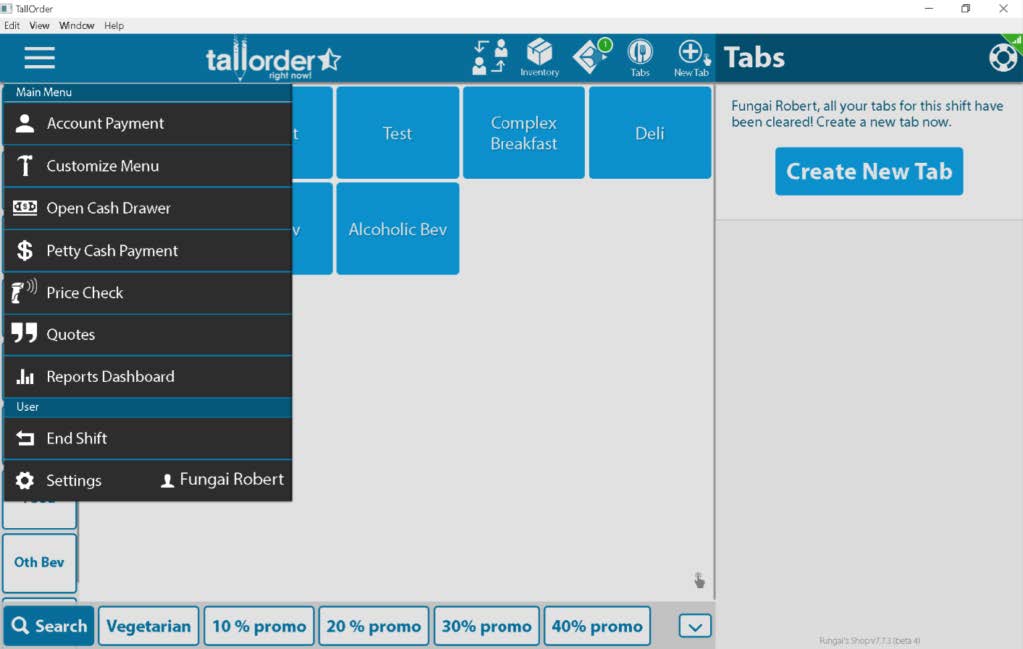
Step 3
On the customer search modal click the create button to create a customer which then displays the customer creation modal.
Step 4
On the customer creation modal fill in the required details of the customer which include:
First Name
Last Name
Tax Number
E-mail
Mobile
NFC UID
Credit Limit
Receive marketing emails (Turn switch on/off)
Receive electronic invoices/receipts preferred (Turn
switch on/off) Addresses
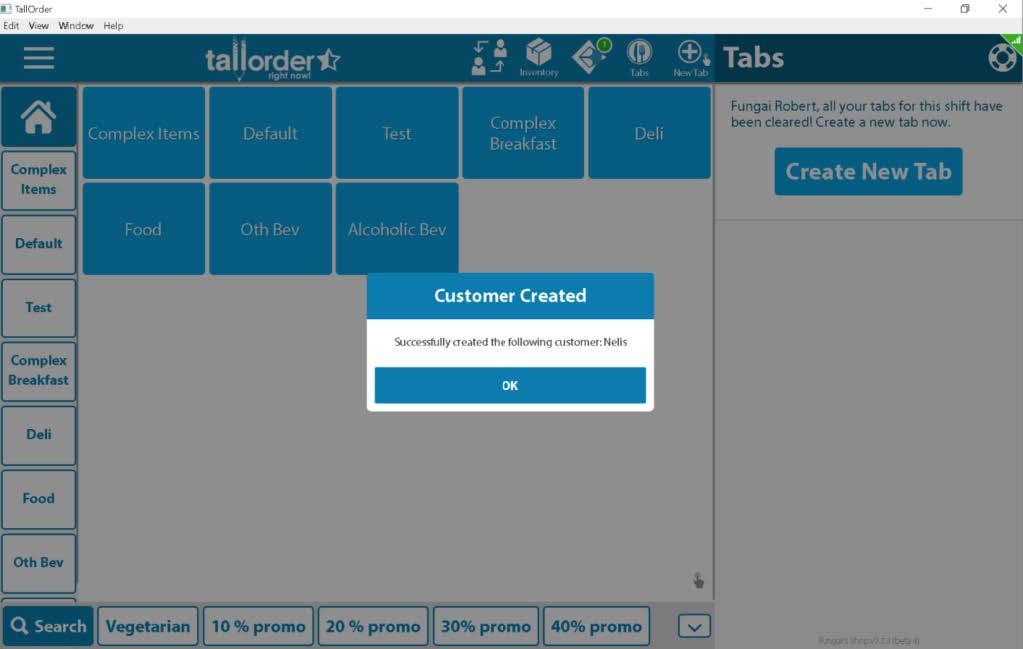
and then click the blue button “Create Customer”

Step 5
Enter the 6 digit Manager pin to authorise saving the customer.

Step 6
A notification alert is displayed confirming the creation of the customer , click OK on the notification to close it off.
Step 7
Sign into admin and choose your corresponding merchant.

Step 8
After creating a customer , navigate to Finance and select the “Accounting Integration” option. On the top right of the page select “Sync Customers” which will sync your newly created customer to Sage.
Step 9
After the sync has been completed open the Sage portal and navigate to Customers > List > List of Customers where you can view your newly created customer.
Creating customer from Sage
Step 1
Open the Sage portal and navigate to Customers > List > List of Customers where you can view and create customers. On the top left select “Add a customer”

Step 2
Fill in all the required fields as well as all the information you would wish to save to this customer.
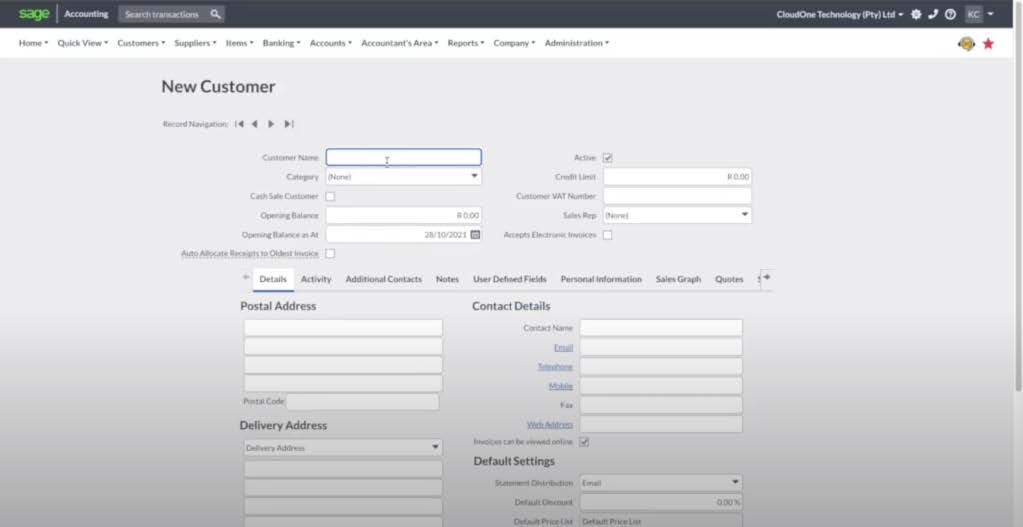
Step 3
After completing all the required fields navigate to the bottom of the page and select the “Save” option to create your customer on Sage.

Step 4
Sign into admin and choose your required merchant.
Step 5
Navigate to Finance and select the “Accounting Integration” option. On the top right of the page select “Sync Customers” which will sync your newly created customer from Sage to TallOrder.

Step 6
Select the option customers and the customers page is displayed with a list of all customers present in that merchant. Here you can search and view your newly created customer.
